Free Trial
The 30-day free trial of Freight Central provides unrestricted access to all features, including the Freight Central Shippit Integration and the Tasklet Pack and Ship Integration. Contact Skipper Dynamics to extend the trial period if needed. This page offers a step-by-step overview of how to install and configure the Freight Central and Shippit Integration Business Central Extension. You can download the installation manual here.
Prerequisites
To get started with the Business Central Freight Central Shippit Integration, you will need.
- Shippit Account: Either a staging or production account
- Freight Central Extension
- Freight Central Shippit Extension
- PrintNode Account (optional)
Shippit account
- Create a staging account or a production account.
- Log in to your Shippit account
- Click on the drop-down menu in the top right select Settings.
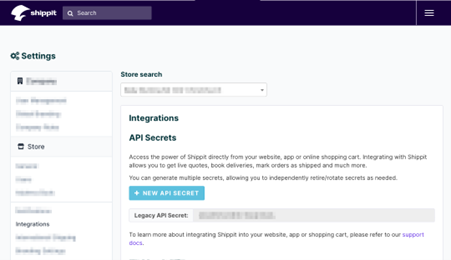
- Navigate to the Integrations section.
- Find the API key in the API Secrets section.
- Copy the API key:
- Each store has its own unique API key. Use the drop-down box at the top of the page to change store and see its unique API key. Copy the API key and save the key.
Create a BC Sandbox Environment
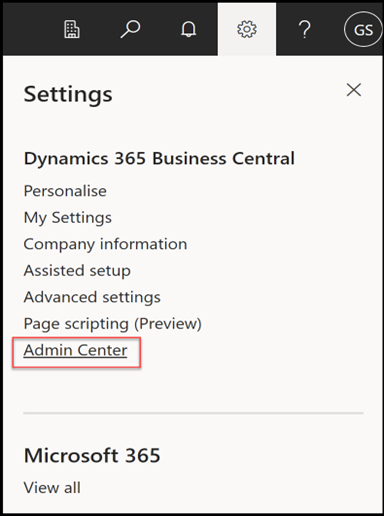
Ensure you have access to the Admin Center in Business Central. If you don’t, please contact your administrator for access.
- Go to Admin Center: Open Business Central and navigate to the Admin Center.
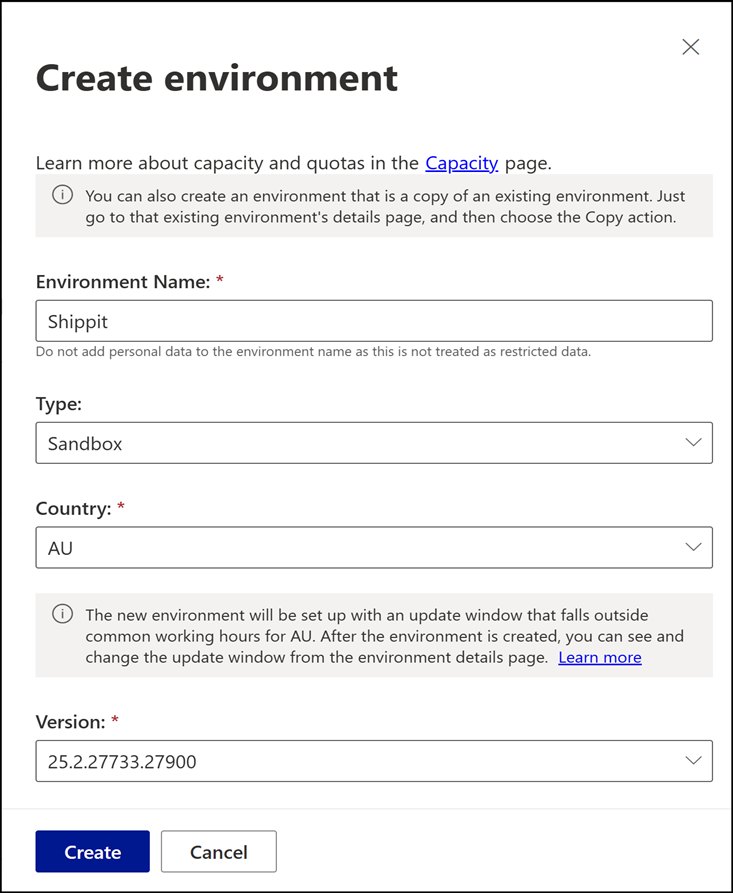
2. Create a New Sandbox, click on + New.

3. Create a new sandbox environment in Business Central with the environment name Shippit. Choose Sandbox as the Type and AU
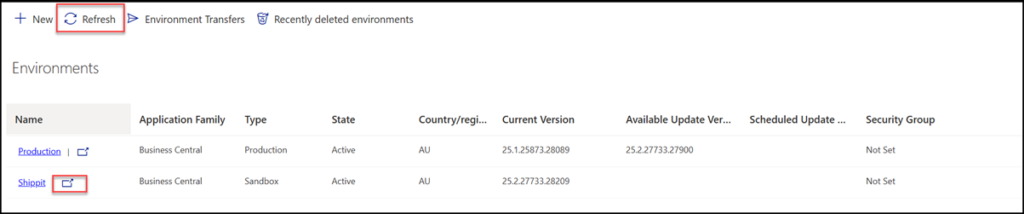
4. Refresh the page until the State becomes Active. Then, click on the link next to the environment name to open the Shippit sandbox environment.
Install the Freight Central Extension
Within Business Central, search for Extension Management.
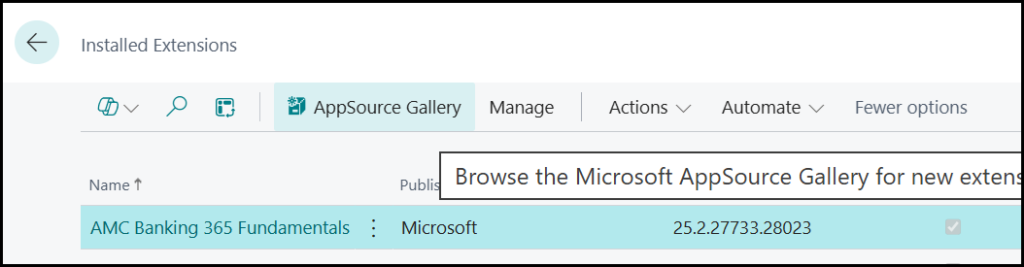
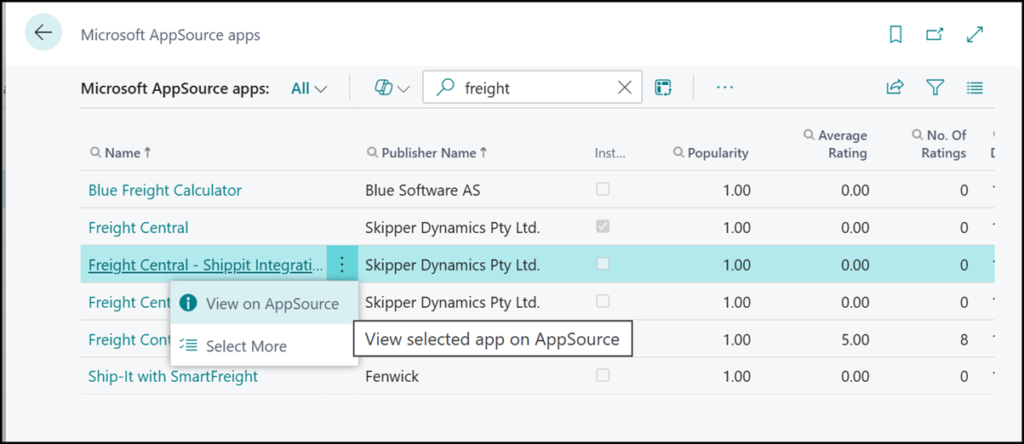
Click on AppSource Gallery and search for Freight Central.
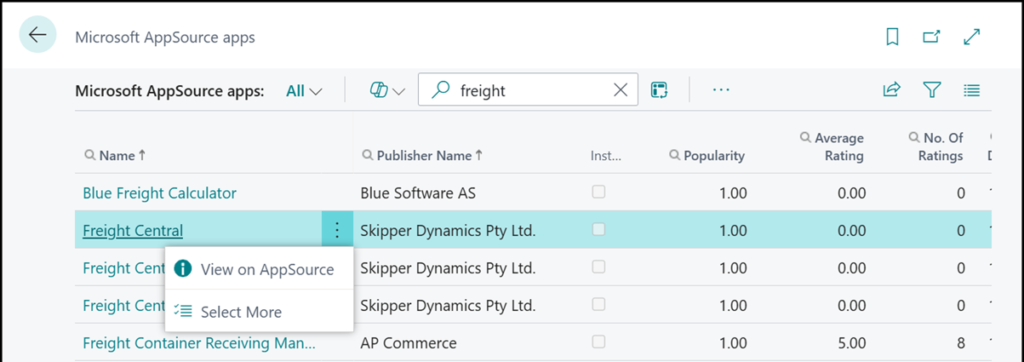
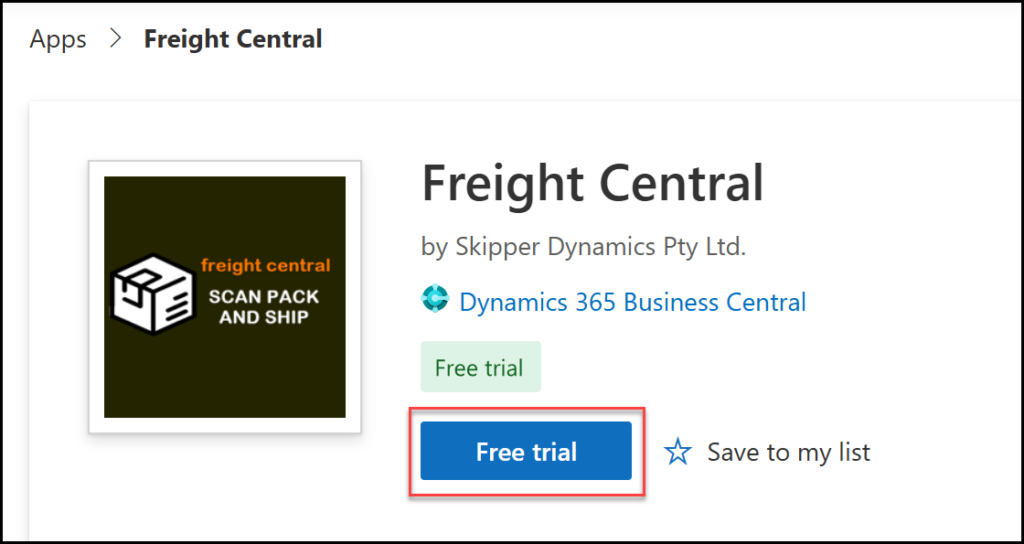
Select View on AppSource and then click on Free Trial.
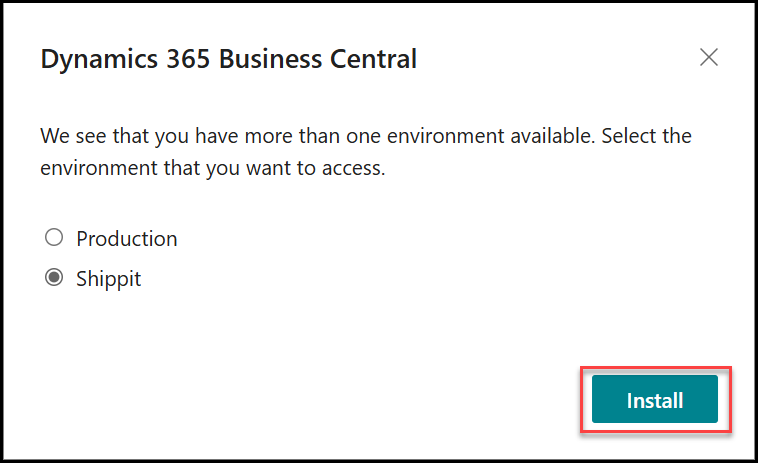
A web page will open. Select your desired environment.
The following web page will open in Business Central
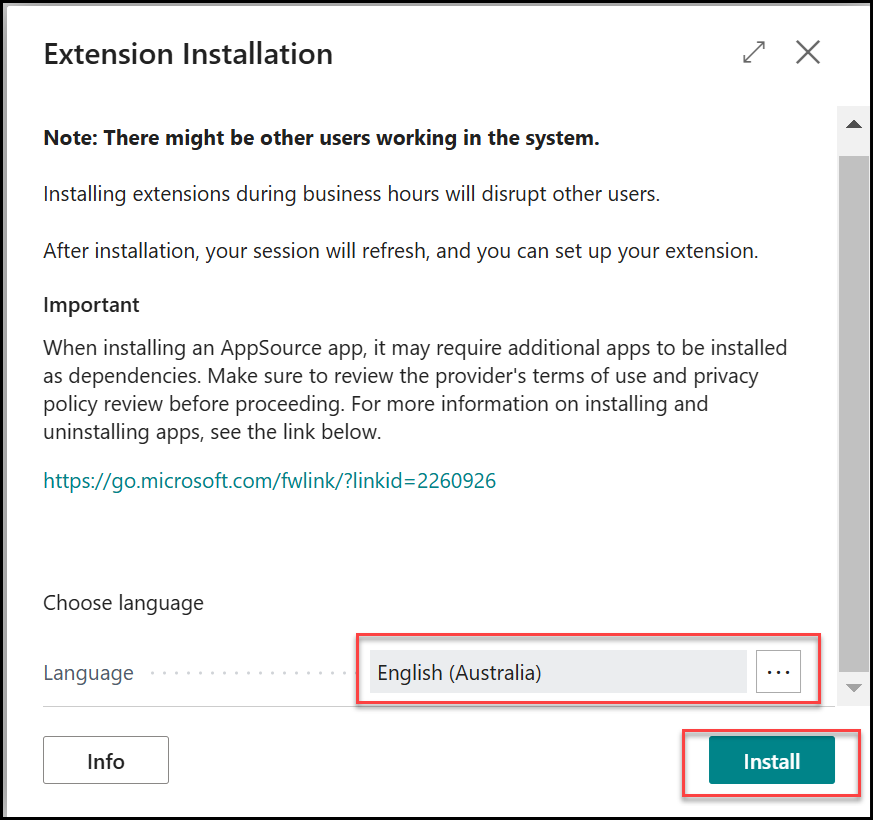
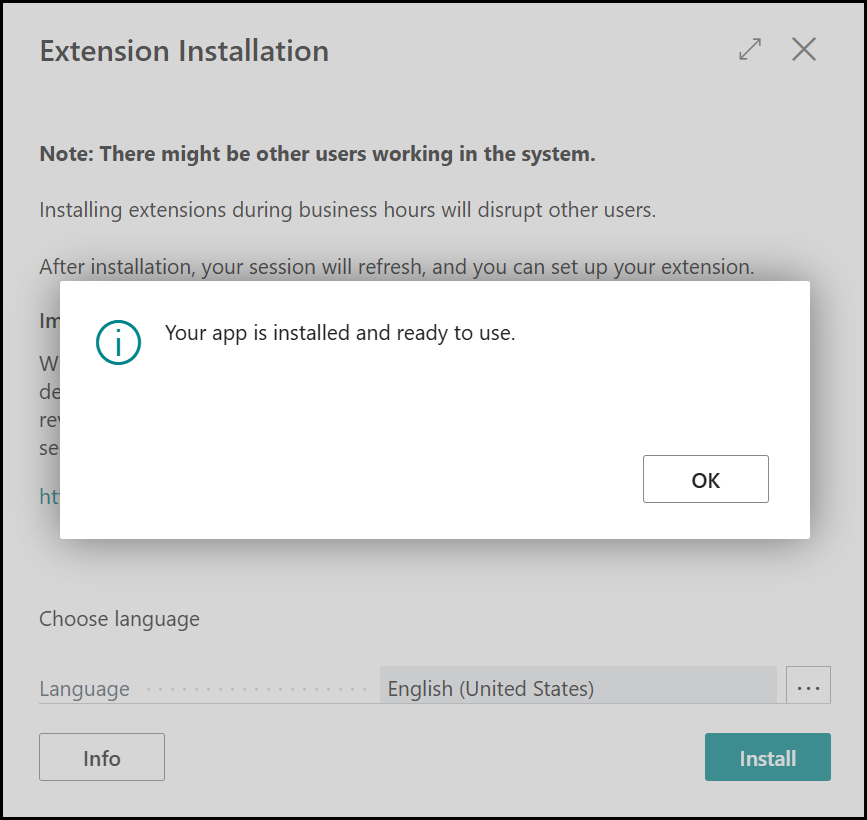
Select the language English (Australia) and click Install. Wait a few minutes, then click OK and close the extension installation page
Install the Freight Central Shippit Integration
Repeat the previous installation steps for the Freight Central Shippit Integration
Enable Freight Central Manager Role
In Business Central, navigate to the top right corner and click on Settings. In My Settings, select Role and choose Freight Central Manager.
Freight Central Manager Role
The Freight Central Manager role gives you access to all available warehouse management features, including Freight Central Setup and the Freight Order List. For warehouse users who manage the packing station, you must add the Freight Order List to the active Role Center
Setup Freight Central with Shippit integration
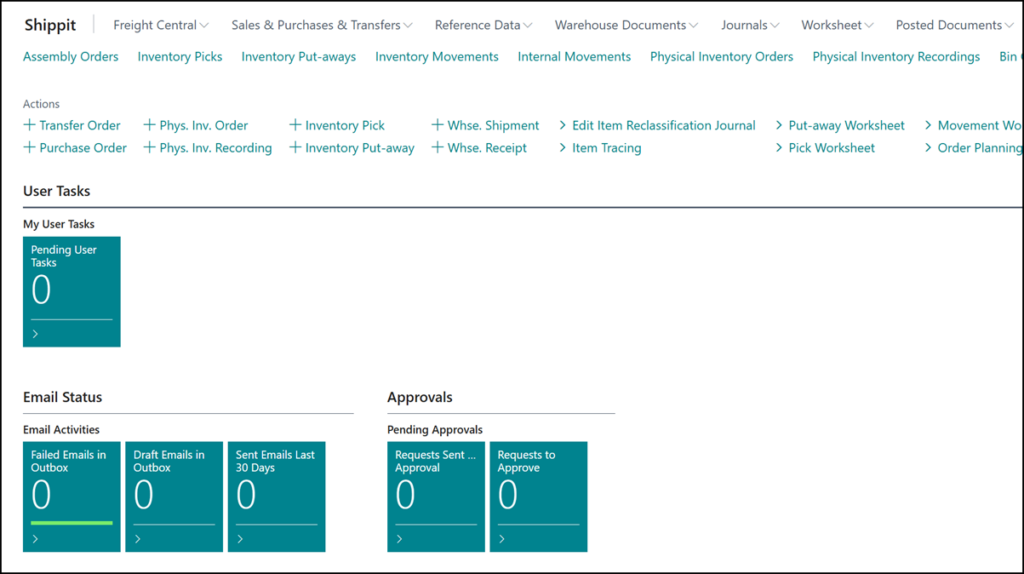
In the Freight Central menu, select Freight Central Setup
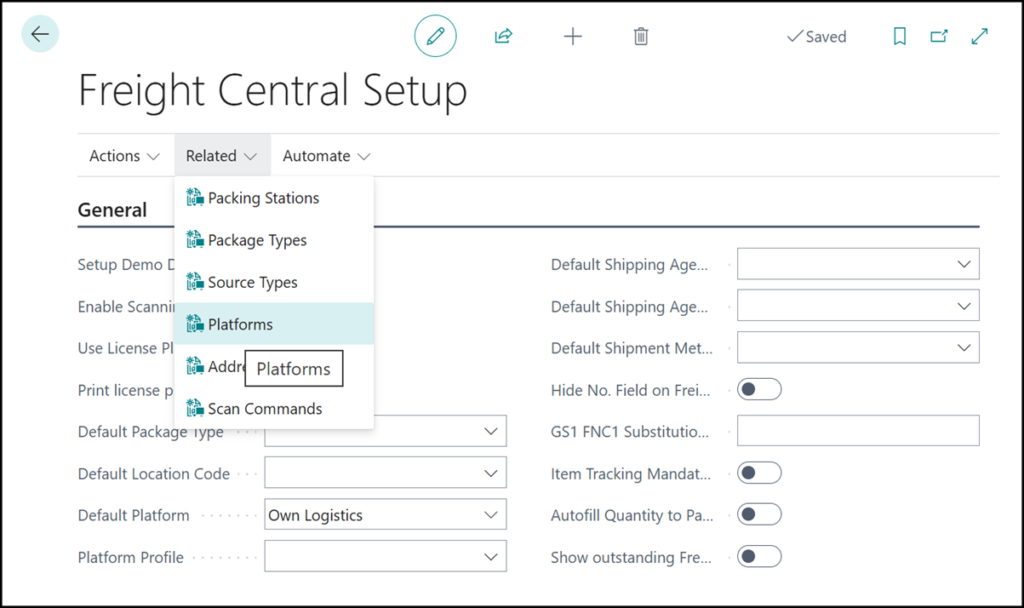
Go to Related and select Platforms
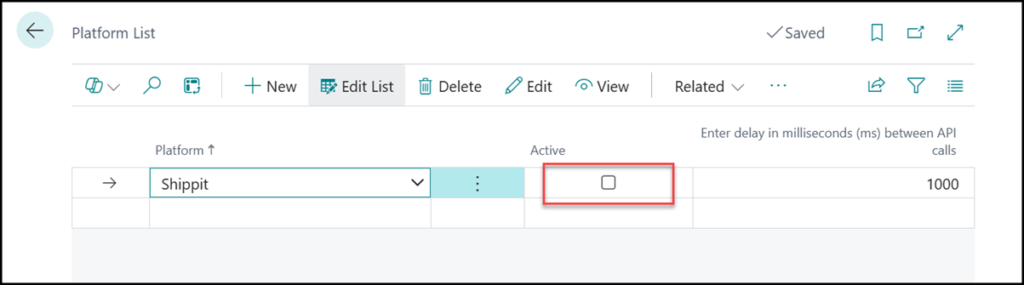
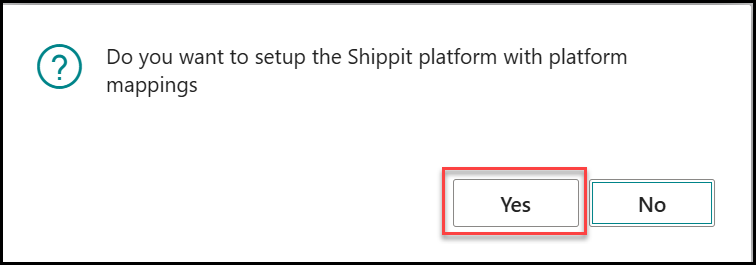
Mark the Active field and click Yes
Select preferred Shipping Agents and Services
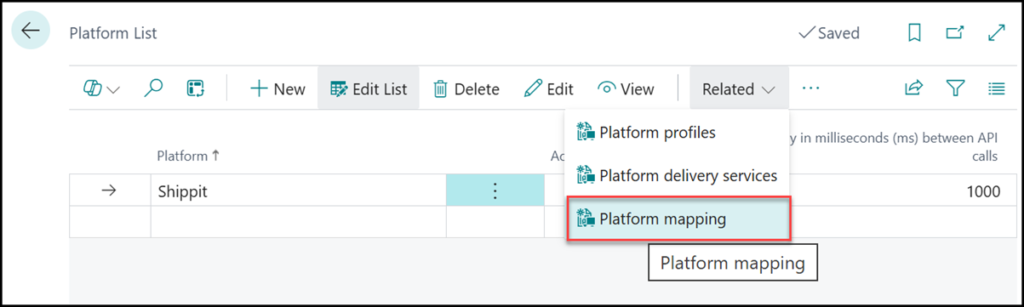
From the Platform list, select Related and then Platform Mapping.
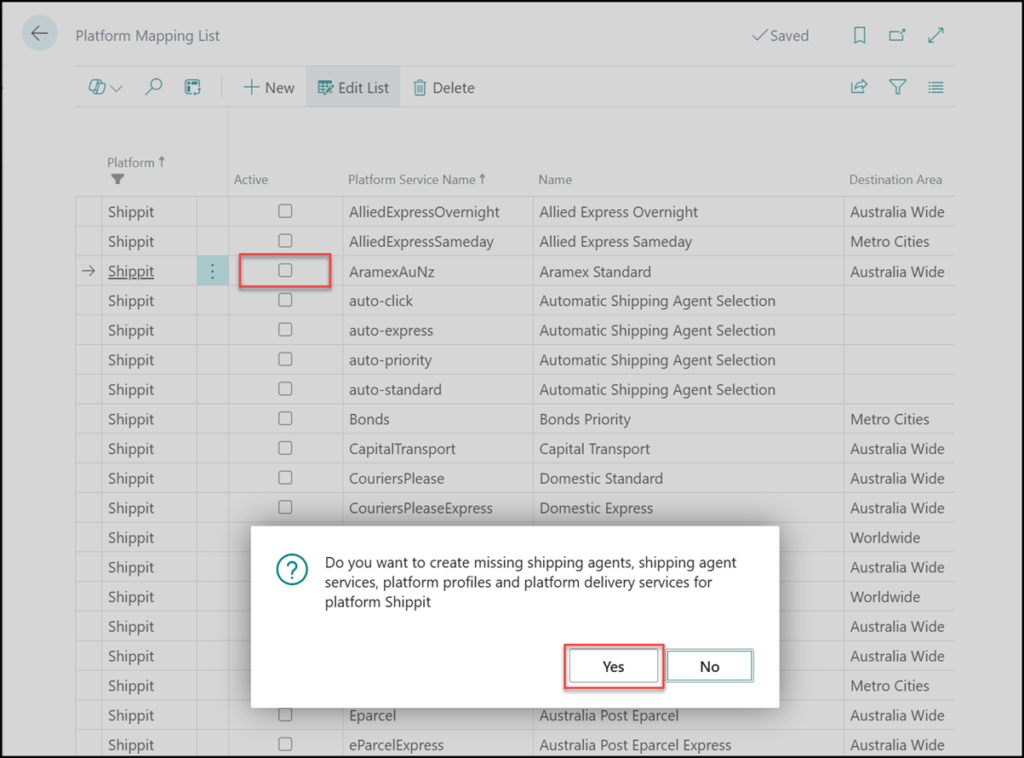
From the Platform Mapping List, select the platform service name AramexAuNz (Aramex Standard). This will set up Aramex as a shipping agent and Standard as the Shipping Agent Service Code.
View the Platform delivery services for Shippit
From the Platform List, you can select the platform delivery services
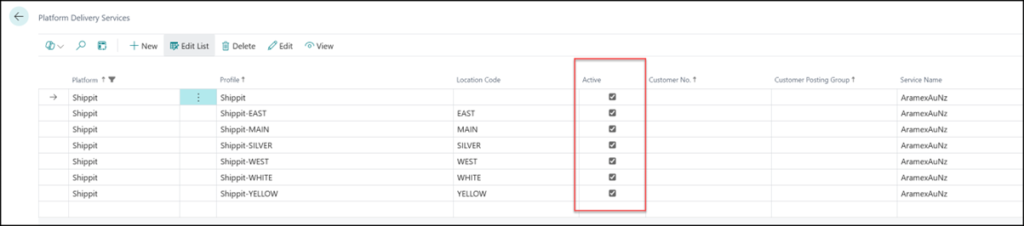
By default, each platform service is enabled. A platform service includes a Shipping Agent, Shipping Agent Service, the Shippit platform, and a location. You can remove or deactivate the services that are not required. For example, if you do not ship from a certain location, or you do not use a Shipping Agent Service from a certain location.
Enter Shippit API Key
For each store in Shippit, you can create an API Key. You will have as many Platform Profiles as you have stores in Shippit. The API Key is required for Freight Central to communicate with Shippit. From the Platform List, you can select the Platform profiles
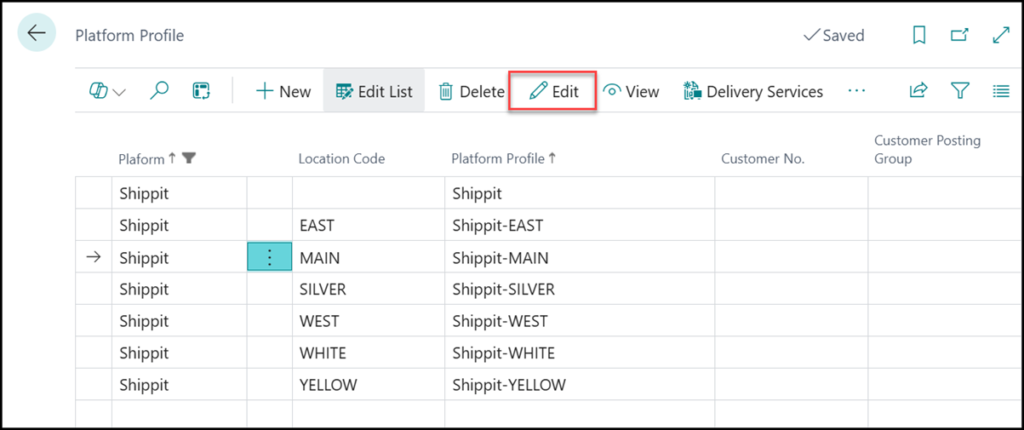
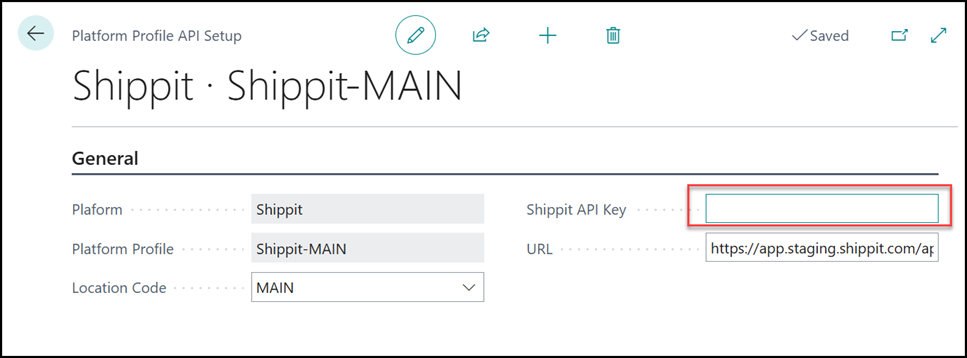
Click Edit and enter the Shippit API Key you saved earlier.
- For the staging environment, use the URL: https://app.staging.shippit.com/api/3
- For the production environment, use the URL: https://app.shippit.com/api/3
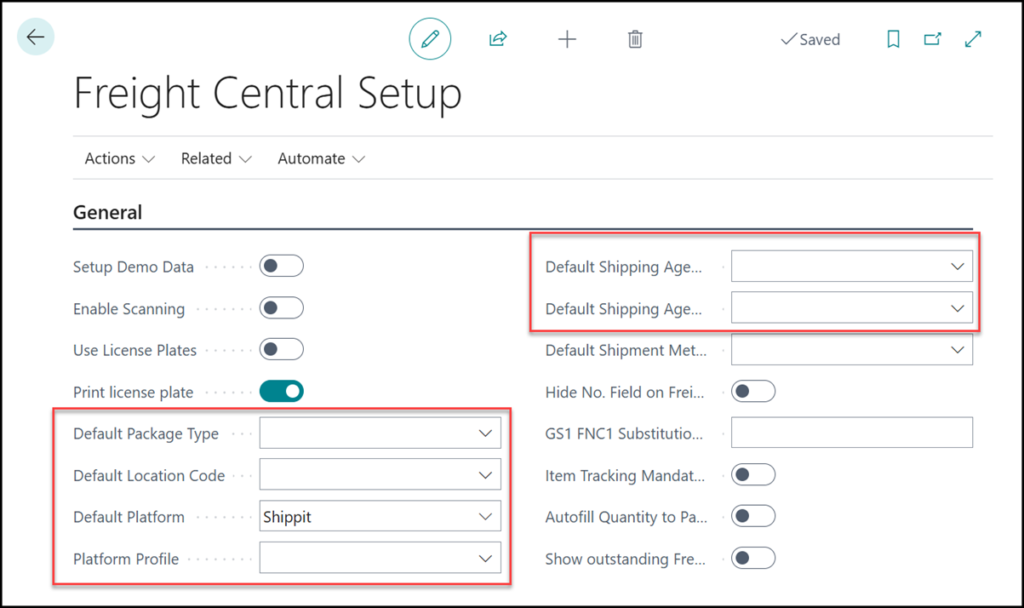
Finalise the Freight Central Setup
Certain fields are not set up yet in the Freight Central Setup. Enter the Default Package Type, Default Location Code, Platform Profile, Default Shipping Agent, and Default Shipping Agent Services Code
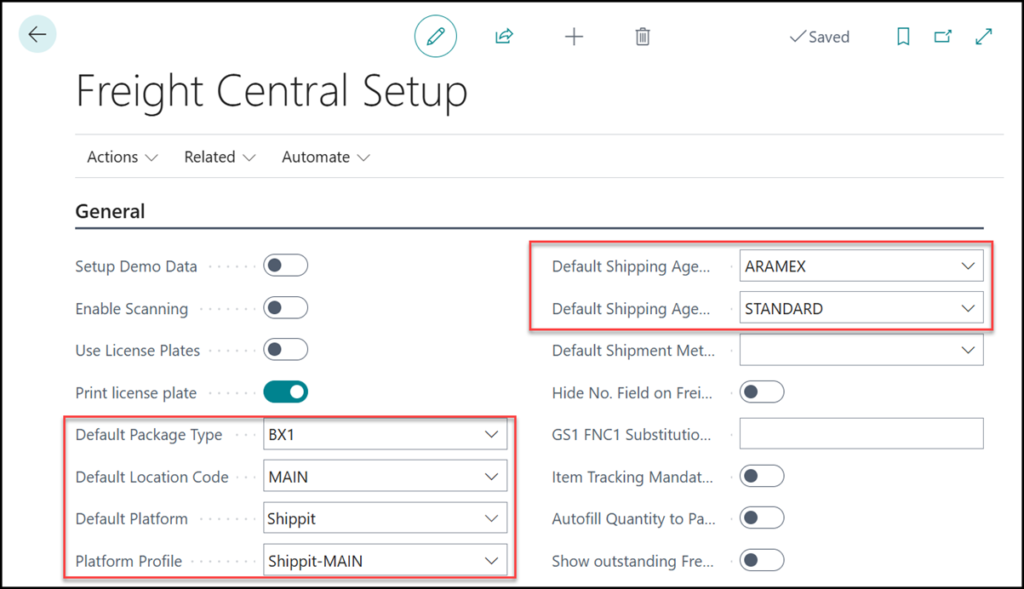
If you follow the script to set up the sandbox environment, you can use the following setup
Create your first Freight Central Shippit Freight Order
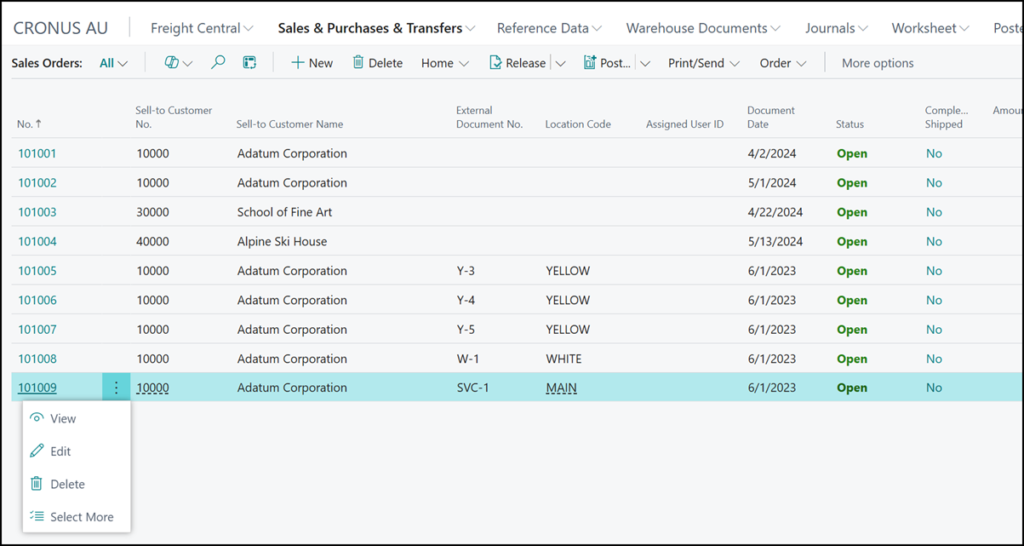
There are several ways to create a freight order in Freight Central. One method is from the Sales Order. Select Sales Orders and choose order 101009.
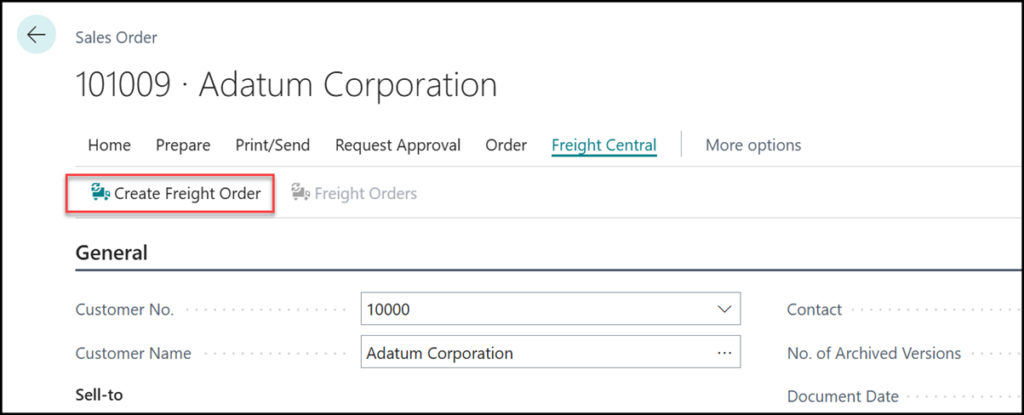
From the Freight Central Menu, click on Create Freight Order. A new Freight Order page will open. From there, you can enter any missing information such as Shipping Agent, Shipping Agent Service, Packing Station, and package dimensions
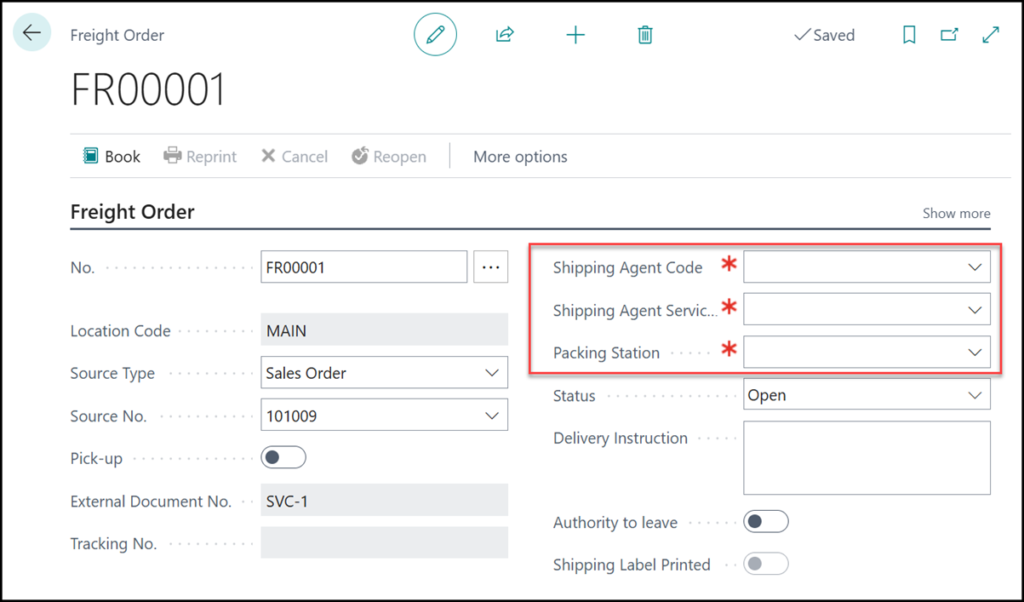
Enter the missing information. The Shipping Agent Code and Shipping Agent Service Code will default from the Sales Order.
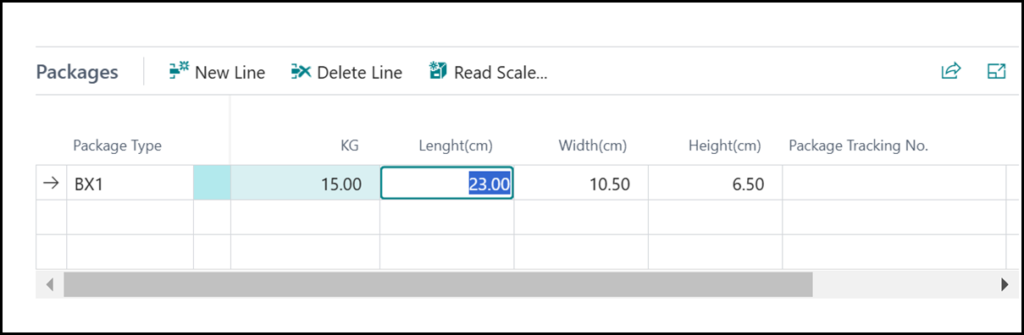
Enter the package type and weight.
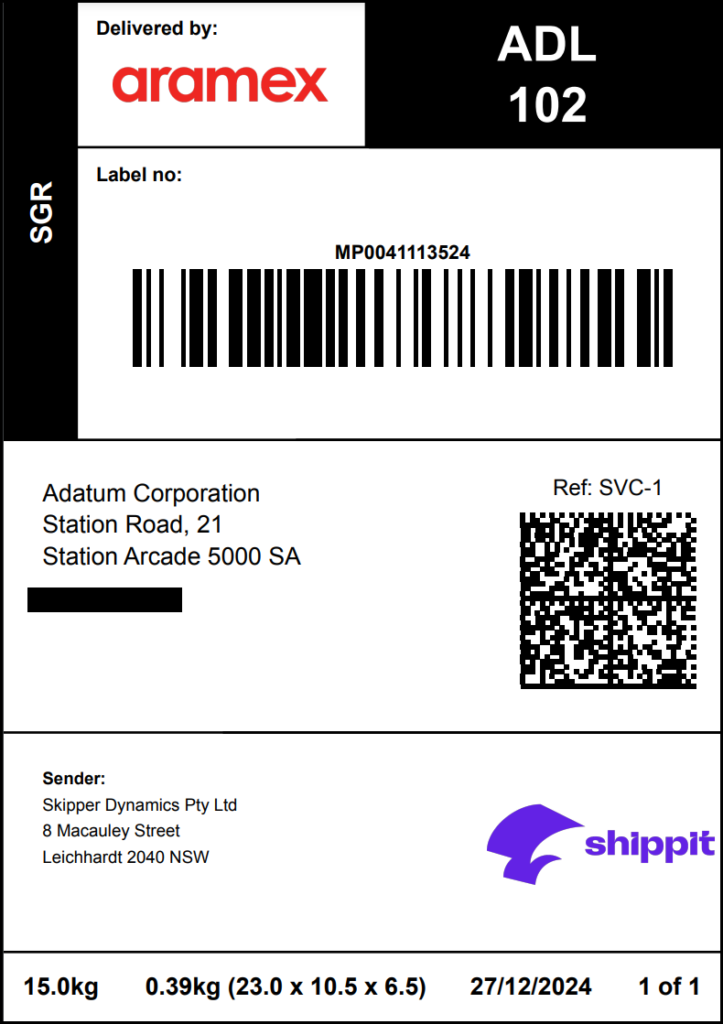
The shipping label will be downloaded to your Downloads folder.
The label result: